






Make your own Holiday Toy Guide featuring the toys you already have.
#1 tip before hitting the Holiday Toy Sales:
Take inventory of the toys you already have.
 |
| Free Printable Cover for your DIY Toy Guide |
This process also helped me realize we already have way too many toys and helped me to better plan for my holiday shopping this week. This will help reduce my kids' Christmas List.
Try making one of your own and use the free graphic above as your cover.
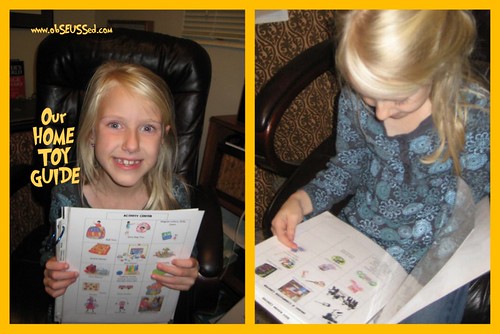
How to:
1. Open Microsoft Word, create a 'table' with 3 columns and tons of rows (as needed).
2. Search the internet to find pics of toys you have. This was quicker than laying our actual toys out and taking photos to upload. I did that for a few of our unique toys or things I've made, and if I had pix of my kids already playing with a toy I used that but for the majority I found a pic online using Google Image Search. I would cut and paste it right into my document.
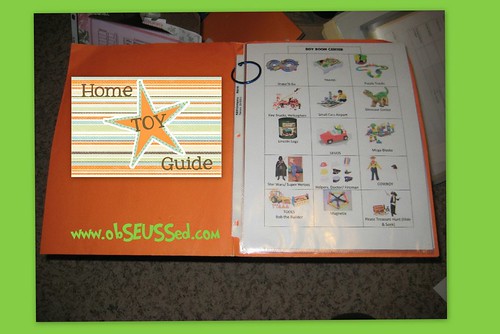
3. Label all the toys - this was helpful for my 7 year old
4. Organize pages into categories. I called them "Centers" since that is what my child has at school for play time and she loves having "Centers". Here are my "Centers":
Activity Center: (ball/bean bag toss, board games, box games, Sit 'N Spin, Hula Hoop, Jump Rope, Hallway Bowling
Creation Center: Playdough, Moon Sand, Bendaroos, Coloring books, foam stickers, lacing cards, Dry Erase Kit, Stacking Blocks, Mr. Potato Head
Exploring Center: Reading spot, felt story board, Puppets, View Master, Magnetic letters & games, Puzzles, ABC Magnet Fishing Game, Pretend Grocery store, restaurant at our Diner, Librarian.
STUFFED ANIMAL TIP:
Our kids like to make a zoo by grouping their 'like' animals, play Veterinarian, Dog Catcher, Parades, Animal Saffari (like hide and seek or an egg hunt with the stuffed animals) & Puppet Shows.
Music & Computer Center: Instruments, Juke Box Dancing, Player Piano Dancing, Beatles Rock Band, Click Start, kid lap tops, Online approved games.
Girl Center: Dress-ups, dolls, kitchen, rubber stamps, craft kits, etc...
Boy Center: Dinosaurs, Building Set, Trains, Cars, Legos, Lincoln Logs, Magnetix, Dress-Up, Pirate Treasure Box Hunt.
Outdoor Center: Sidewalk Chalk, Fort, Sandbox, Scooters, Bikes, Bubbles, I plan to add more in the summer time - like going on walks or to the park.
I Plan to add more to this guide as we get new toys or get rid of toys they grow out of.
You get the idea. Look through your house and compile your own list or categories.
5. Print pages out, put in sheet protectors and put inside a folder with 3 prongs. Print out the cover pic above or make your own then let your kids start shopping at home.
After School Tip: This is our routine
Wash Hands, Snack time, Homework & Reading Time, Center Time (pick an activity from the Toy Guide)

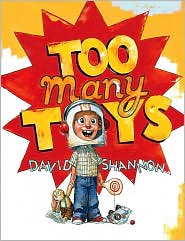
ObSEUSSed Book Suggestion: Too Many Toys by David Shannon. One of our favorites, read my post about having Too Many Toys.
Linked to Today's Creative Blog, Get Your Craft On Tues.

Linked to Today's Creative Blog, Get Your Craft On Tues.




