


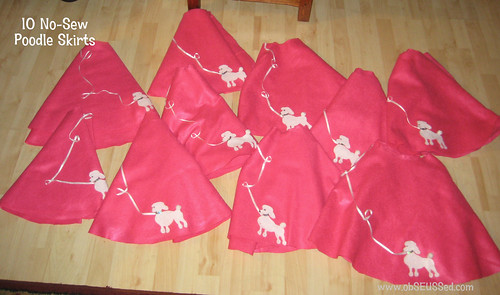
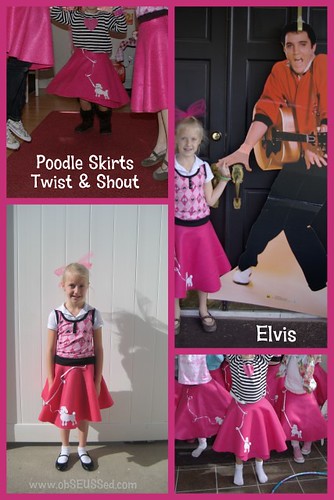
How to make a No-Sew Poodle Skirt
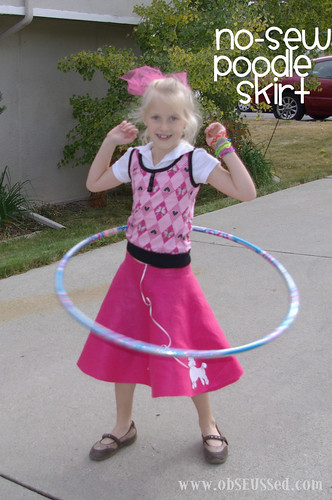
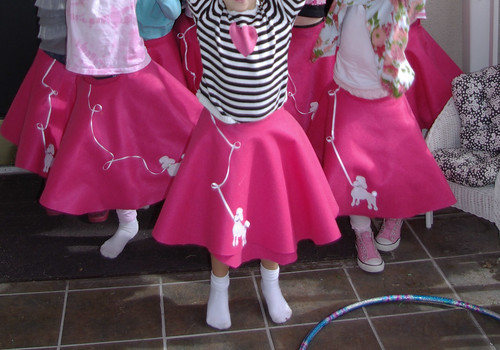
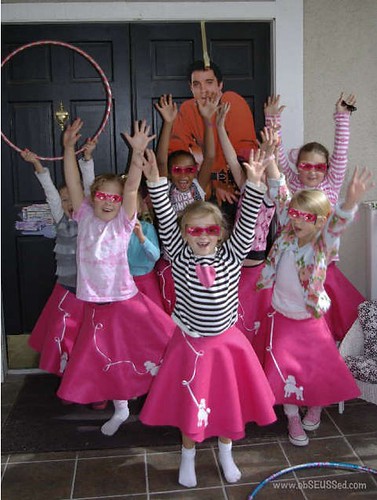
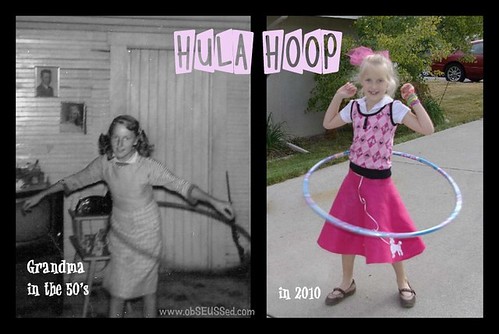
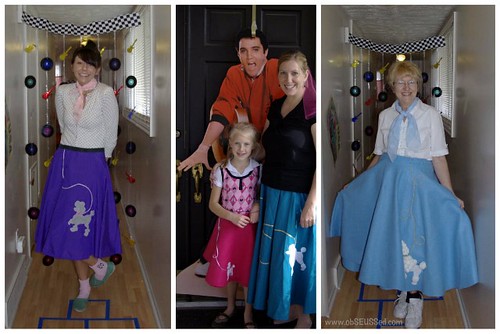
For our 50's Sock Hop birthday party I made 10 poodle skirts as dress-up favors for the girls to wear during the party, then take home. I wanted to keep them simple and low-cost. I made them for about $6 per skirt. Once I made the first one, the rest were much quicker to make so I thought I'd share how I did them to save you some time. I'll admit I don't like making things that require sewing patterns or pinning fabric. I always end up using my seam ripper. So I came up with this NO-SEW pattern to make a poodle skirt. I also needed them to be adjustable because we had very different waist sizes coming to this party that I couldn't measure in advance. These are perfect for a Halloween costume, playing dress-up or for a dance recital.
Materials Needed
For Skirt:
- Measure waist to knees of the girl. However long you want it to go, double that number Then add 8. That is how big you'll want your square of fabric. I wanted 17 inches long(doubled is 34 inches) plus 8 (for the waist cut) to make the square 42 x 42 inches to start. (Waist to knee length + 8 = length of 1 side of fabric square.)
- 42 inch x 42 inch square piece of colored felt. (Popular 50's colors, pink, baby blue, purple, red or black) Buy 1 and 1/2 yards of 72 inch wide felt. (I used a 40% off coupon at Joann Fabrics for 1 huge cut to make 10 skirts)
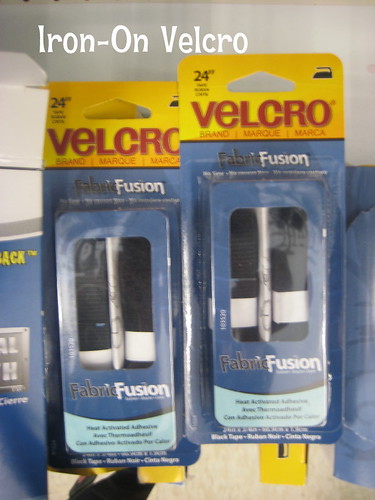
- 1 package Iron-On Velcro (Amazon has it for $3 affiliate)
- Measure tape
- Fabric scissors and cutting mat
- Hot glue gun
- 7 inch x 7 inch square of white felt (could use black) If you're just making one skirt you could easily buy the 8.5 x 11 sheet of felt from your craft store. If you need to make more, I recommend buying the 72 inch felt off the bolt.
- small pom pom for tail (matching color)
- Sharpie marker (black to draw eyes and nose)
- Collar - 3 inches of sequin ribbon
- Leash- 20 inches of 1/4 inch wide ribbon (often a spools run 3 for $1 at JoAnn's)
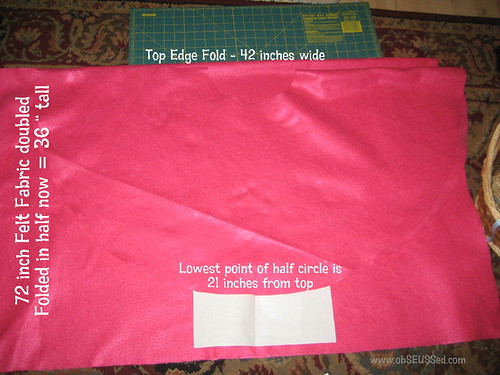
- Lay out the felt folded to measure and make sure you have enough fabric. (This picture shows me using my first skirt as a template to copy and trace onto the fabric for my 2nd skirt).
- Unfold and measure the square 42x42 and cut to make the square.
- Now, fold the 42x42 square into an 21x21 square.
- Cut a curved line from opposite corners to cut off the open edge. This curve becomes the bottom edge of your skirt. (See picture, this was my doll version size but you get the idea.)


5. While folded, mark 4 inches from the folded corner on both folded sides. Cut a curved line from each mark. This creates a 16 inch waist opening. It will be adjustable.
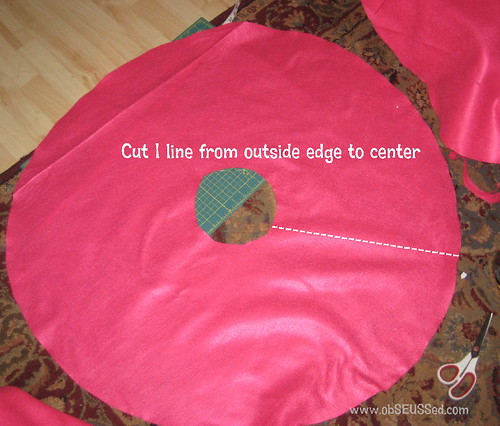
6. Pick any area and cut a line from the outer edge all the way to the center circle.
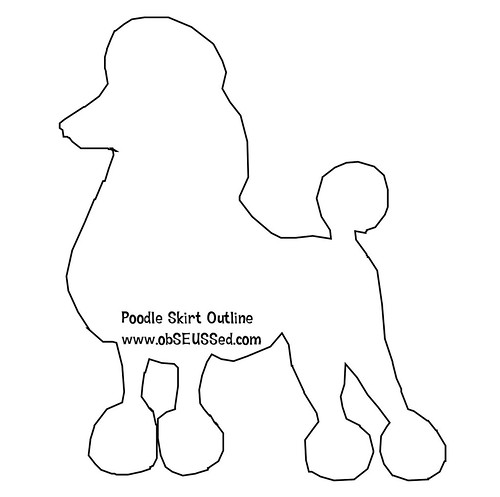
7. Copy and paste this image into 'Microsoft Word' or another program. You can adjust the size. You'll want it about 6 inches tall.
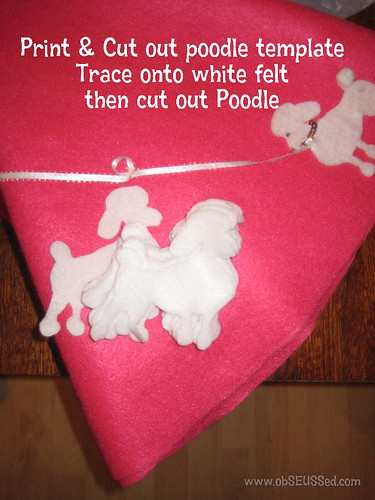
8. Print the template and cut out the poodle on your paper.
9. Place on white felt, trace around the edge.
10. Now cut out the felt poodle.

11. Hot glue the sequin ribbon behind the neck to hold in place on both sides. Hot glue one end of the leash ribbon behind the neck too.
TIPS
Poodle Position: Wrap the skirt around your daughter to see where you want to lay the poodle.
EXCESS WRAP: You can cut the length of the circle shorter if you don't want as much excess wrap. If so, cut it first then add the velcro on the ends as directed below.
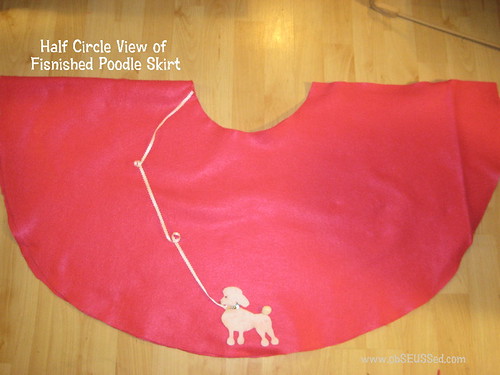
12. Now, hot glue the poodle onto skirt.
13. Then glue the pom pom on the tail.
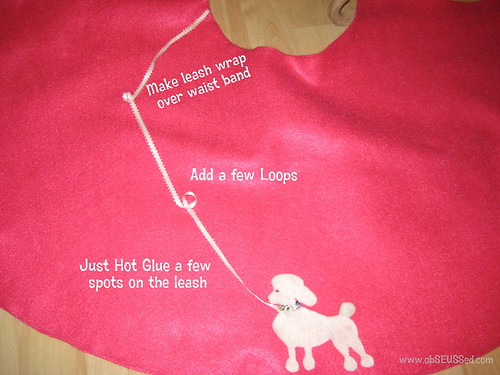
14. Just hot glue a few spots on the leash to hold it in place. Add a few loops for decoration.
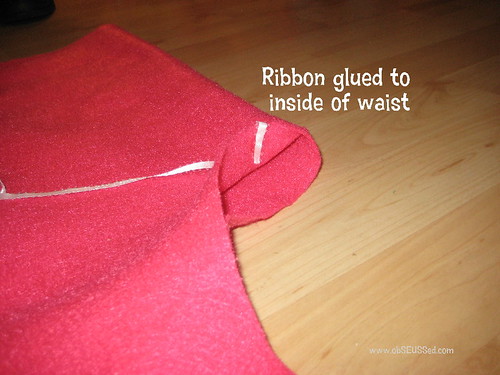
15. Glue the ribbon up to the waist of the skirt and tuck onto back side of skirt.
16. Open velcro, cut 2 pieces of the loop/pokey style (not the soft matching velcro), 2 inches long.
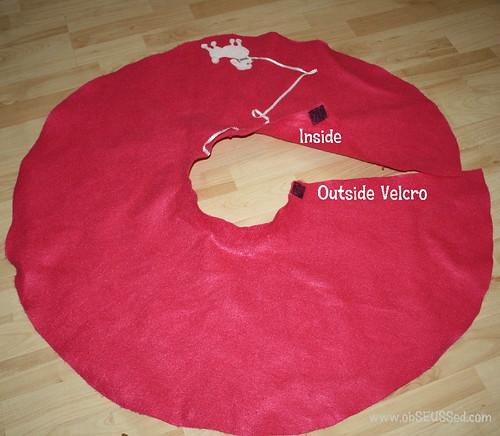
17. Next, layout your velcro, one on outside top corner edge of skirt, one on inside top corner edge. You want the pokey part of the velcro so it will stick to the skirt once you wrap it. Now iron both pieces on as directed by the velcro package.
18. Try it on. Wrap it around your daughter and the velcro will stick to the skirt where needed. Works for larger and smaller waists.
My sweet sister helped me make 10 of these skirts for my daughter's birthday party.
If you'd prefer to sew a skirt for everyday wear, check out the circle skirt tutorial on MADE. She has tips that would help you with this skirt as well.
When you need to make a quick skirt or a lot for a group, this pattern is perfect, but if you aren't the crafty type or would rather save time you can always just purchase a skirt on Amazon. The $14 price is great. (Disclosure: As an Amazon Affiliate, I do receive a small percentage of sales made using the link below. Thanks!)
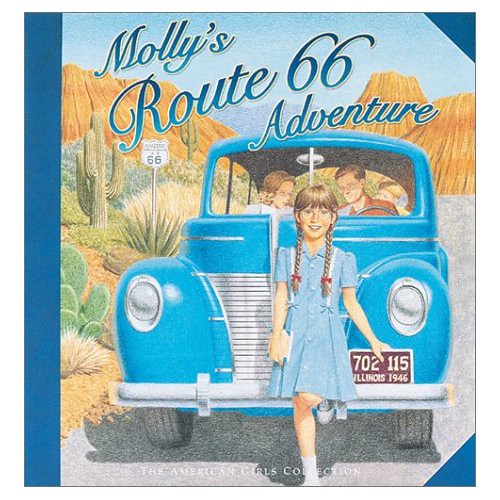
Children's Books:
I also found some fabulous paper dolls with 50's fashion and poodle skirts from Paper Studio Press.

See how to make a matching poodle skirt for an 18 inch doll.
I really wanted the Maryellen American Girl doll (for myself ;) but we made the skirt for my daughter's doll and she was happy to have the matching skirts.
I really wanted the Maryellen American Girl doll (for myself ;) but we made the skirt for my daughter's doll and she was happy to have the matching skirts.
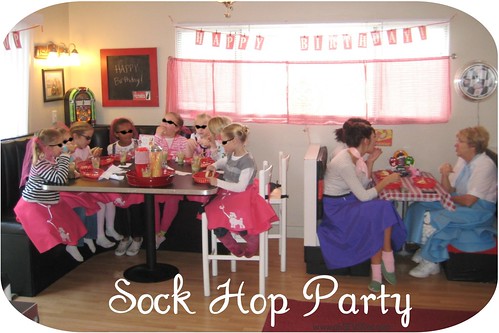
See more 50's ideas at our Sock Hop Party.
If you try making a skirt I'd love to see pictures. If you post it online, leave a link in the comments below or send me an email (obSEUSSed (at) live.com)
Let me know if you have any questions about making your own poodle skirt.
UPDATE: November 2016. I love seeing all the comments of those who have used this tutorial to help them make skirts. I'd love to see your pictures. Email me a photo of how yours turned out and I'll add it to this post for others to see. Email obSEUSSed (at) live.com (or click the email button in the top right column). Thanks so much! It makes my day to see others successfully making these cute skirts.
YOU DID IT! Comments and photos from readers who made the skirts. They turned out Swell!!

Rebecca in Texas said: "Just wanted to say thanks for posting your tutorial. I discovered it through a Google search when I found out my daughters' school would have 50's Day. I'm not crafty at all and was pretty intimidated to take on such a project, but your easy instructions made it a breeze. My girls love their skirts and I had enough scraps to make one for their baby sister as well!"
Thanks again and please keep blogging! Rebecca"
Mike in Georgia made these for his twin daughters:
"I had no experience and bought a yard and half of each felt, more than I needed since each girl was 14+8 and 16+8 for size.
I ended up cutting the wrong color first so both became 14+8. All good as they look good on the girls. They received lots of comments and even with buying extra materials and forgetting to give Joann my 40% coupon it was still less than $27 for two skirts. Two hours later (9pm to 11pm the night before the dance…) they were completed.
By the way – These are twin 8 year olds, 1 minute apart… Thank you for sharing a quick and easy plan to follow. Mike"

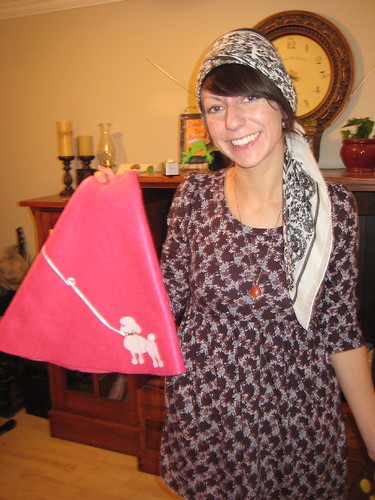
10/23/13 Mirna M. said "Thanks so much for the easy steps. I'm horrible crafty but this turned out pretty good. Here is my skirt."
July 2014, Kathy (@mabelgabel on Instagram) shared this photo. She used this pattern to help her group of girls at church to make their own skirts for a daddy-daughter 50's party.

Linking to more great ideas at Tip Junkie.
(Disclosure: As a Google & Amazon Affiliate, I do receive a small percentage of sales made using the links below. These would be great to complete the costume or prepare for a 50's Party. Thanks!)


